We are living in an era of e-commerce now. E-commerce business is growing rapidly. The main reason is that if a customer want to buy something, she or he can choose the product in the comfort of their home. They have the option to compare it with the other e-stores. It is not mandatory now to look for a product walking or travelling from store to store. When they find the product that matches to their necessity and taste, they can order the product online with just few clicks.
But how can they see the products? Not an intelligent question, right? The answer is simple, from the product images e-stores display. Virtually every photo for commercial display need one or the other kind of editing. Generally speaking, a bright, polished and crisp image catches our attention easily.
For e-commerce websites, to improve the product images using product photo editing techniques is really very important.
The top 7 reasons are –
1. Images Should Be Appropriate In Quality
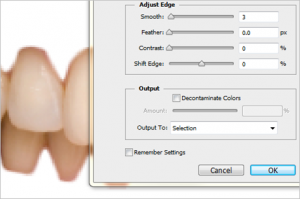
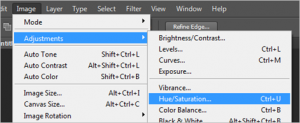
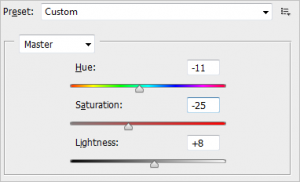
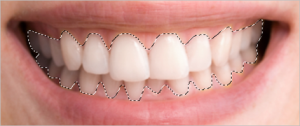
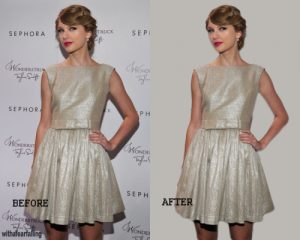
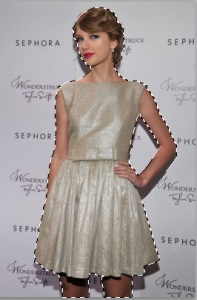
Photo editing makes an image bright and appropriate for displaying on an e-store. A product image may need various types of manipulations. Most common requirements are changing unwanted background, Adding and/or removing objects, color corrections, exposure adjustment, neck joint or ghost mannequin effect for garment products to name a few. Aside from the image manipulation techniques mentioned, there are numerous techniques and affects you can apply to your product image to make it stand brilliant in the crowd.
2. Visitors See Only The Images Of The Products
Visitors of an e-commerce store can only see the images of the products. They cannot touch, test or try it like a physical outlet or showroom. They take their buying decision seeing the pictures, price, and the short specification/description provided on the website. If the picture is attractive customers go for the further details like price and specifications. If they feel like they want the product, they places an order for that product
3. It Is More Applicable For The Garment Products
Shooting a proper garment product is a bit tricky. A flat garment hanging on a hanger does not look so appealing. If the garment is put on a mannequin and then shot, it gives a better look but the mannequin becomes distracting. But if ghost mannequin or neck joint technique is applied the garment becomes prominent in the picture. The prospective customer can get better view about the shape and look of the garment. The label on the neck also becomes more clearly visible. Ghost mannequin technique is also suitable and excellent for jewelry pictures. Very often the jewelry pictures are taken after putting it on a jewelry holder mannequin or necklace holder mannequin. Jewelries look better when there is no mannequin on the picture. This effect can well be achieved by editing the picture with ghost mannequin/neck joint effect. Even if the product is shown using a human model; some image improvements, retouching and manipulation is very often necessary.
4. Visitors Skim Through Dull Images
As a customer we tend to overlook the dull images on the website. Raw images can convey misconceptions. A product may be useful and cost-effective, but because of the low quality image it may convey little impact to the buyer. Even if the product is useful for the customer, there is a great chance that the buyer may skip the product. On the contrary, we are inclined to stop when the image catches our eyes. If the image is dull and dark the visitors tend to pass through those products quickly while browsing. As a result, customers will not click on the product image, so the sale of that product will cease to increase, eventually the web store will be deprived of sell.
5. Bad Images Will Lower The Impression Of The Web Store
Business is decreasing because of unimpressive images
If a web store contains a lot of low quality product images, ultimately, it may affect the impression of the website and it’s branding. The competing e-commerce website with glittering pictures will gain more interest of the visitors. As a result they will be popular than the website which contains lots of dull and gloomy pictures. To increase the reputation and ranking an image quality assurance team should be there to decide if the product is publishable to the website. Or, if some editing of the images is required.
6. Fancy Products
To increase the sale of fancy products, photos of the stuffs should be eye-catching and tempting. Buyers of decorative and fancy products focuses on the look of the product. This is why it is important to showcase these types of products brightly, sharply and smartly. For this kind of items, people tend to order which looks better and attracts them. While buying fancy products people sometimes get impulsive. To catch customers’ attention it is wise to display a luminous and attractive picture of the products.
7. Ultimately Better Images Increase Sell
We all like to see clean, clear, bright and perfect images. The same thing reflects in the case of product pictures of e-commerce websites. Delightful images catch our attention and increases sell. It is better to invest very little money on image editing and enhancement to increase the sell by thousands of units, than to let the product get unnoticed and have thousands of units remain unsold in the warehouse. The main objective of e-commerce websites is to sell more products to increase the revenue.
If you are an e-commerce shop owner, you must need a large number of finely edited product photos. We have more than 30 years of experience in image editing services. We have been working with many world famous media, fashion and printing houses. We provide free trial offer, quality services and 24/7 customer support. For the best quality and experienced workmanship, please contact us.